
SUBLIMATION ARTWORK GUIDE
How to Prepare Artwork for Sublimation
Prepare logos, colors, panel artwork and approval notes for custom sublimated Rash Guards, fight shorts and teamwear.
Reviewed September 22, 2026DIRECT ANSWER
What buyers need to know
Prepare sublimation artwork by supplying vector logos where available, naming brand colors, separating priority and secondary marks, identifying placement by garment panel and noting any alignment requirement across seams. Final production artwork should be confirmed on the supplier template and approved through a mockup and physical sample.
REAL PRODUCT & PROCESS EVIDENCE
Inspect the material, construction and workflow
Original product or production photos support the specification. No generated product imagery is used.
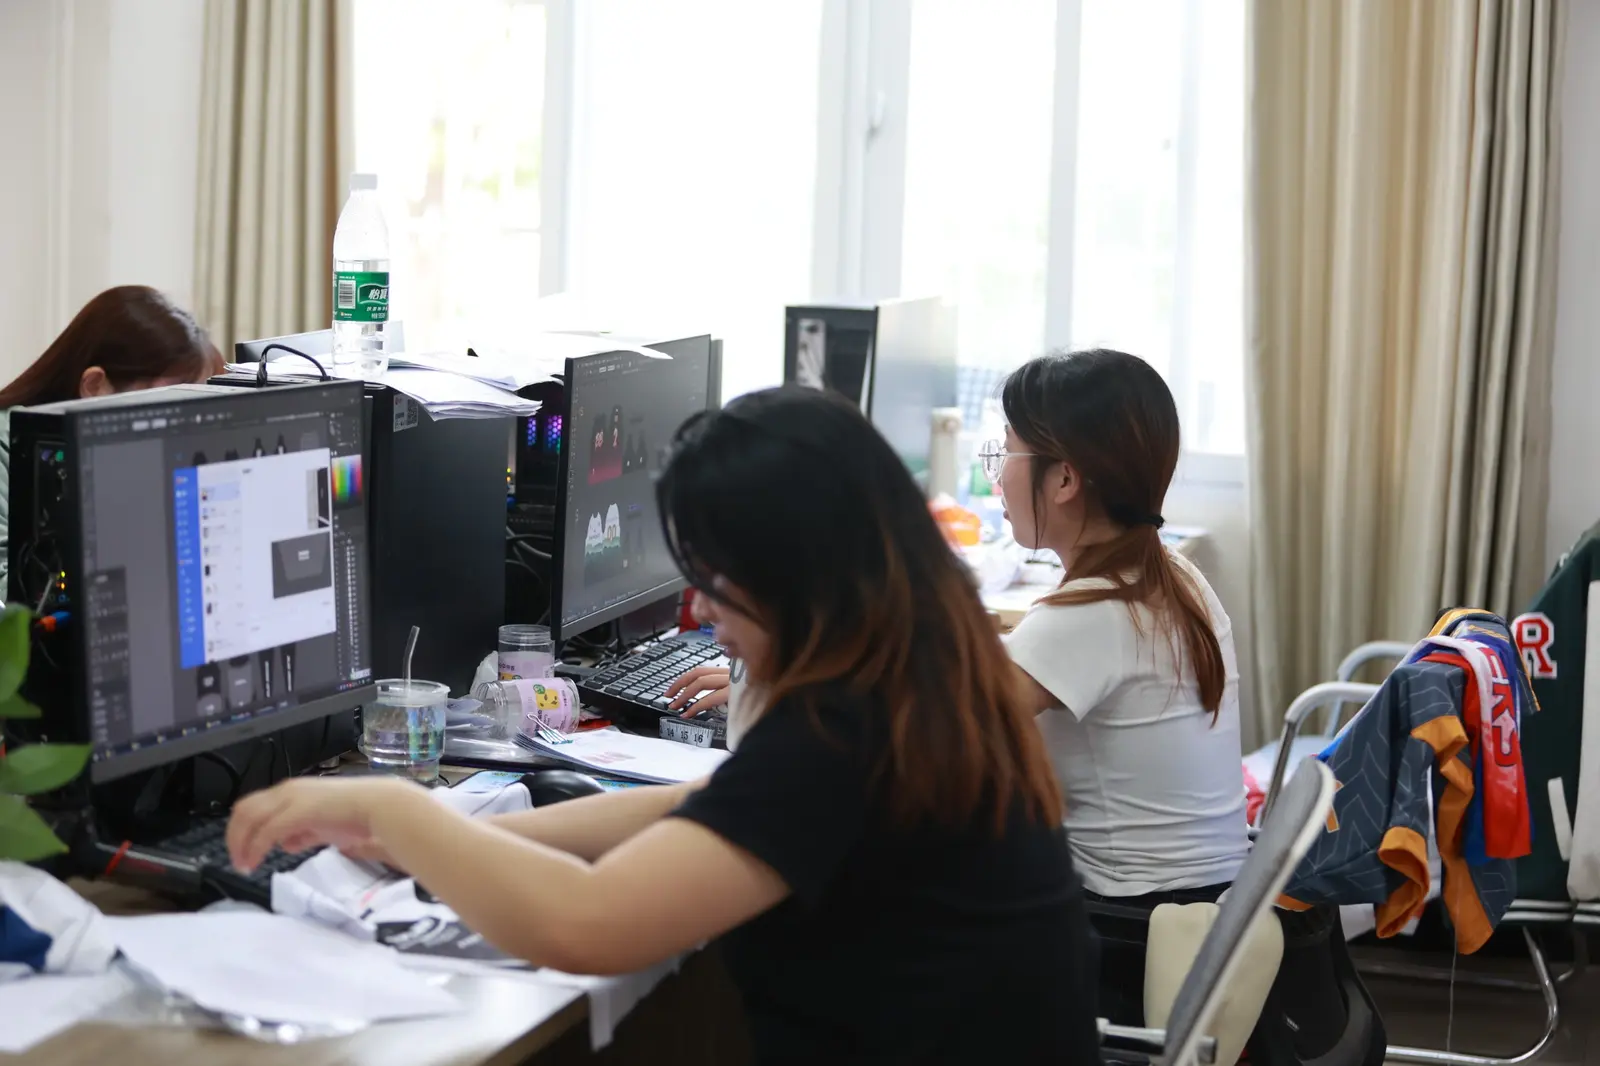
Artwork and layout preparation before the production file is finalized.

Product, logo, color and construction requirements are confirmed as one brief.
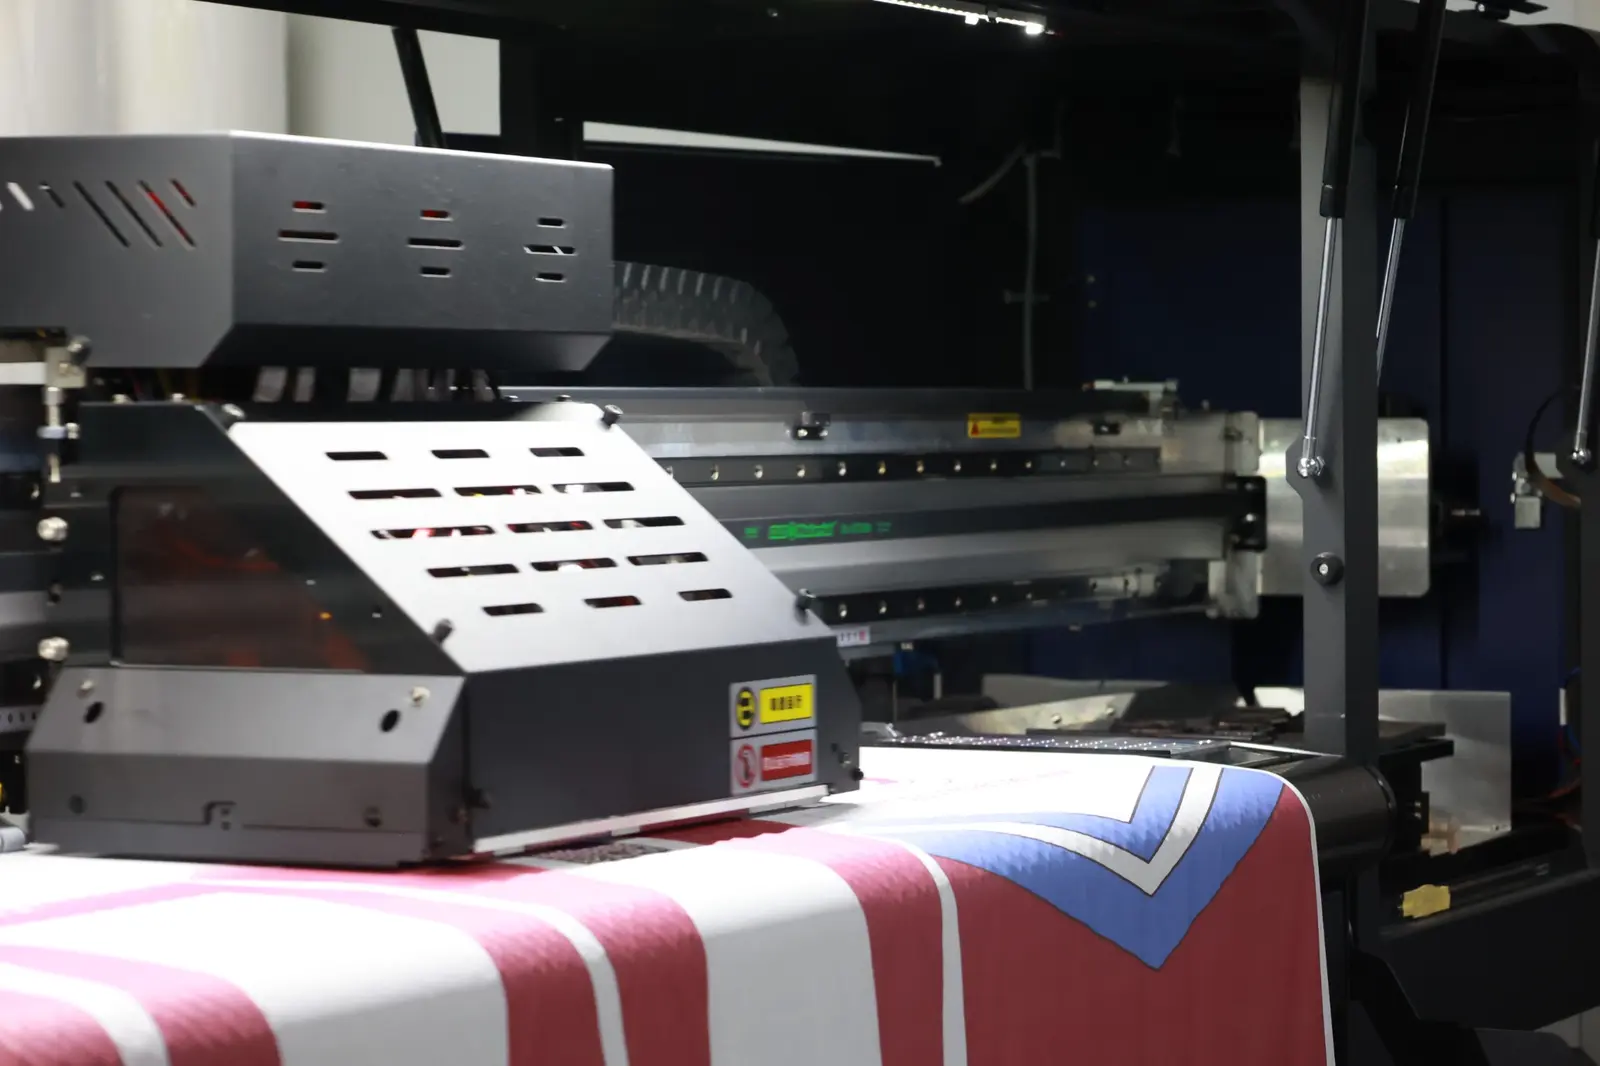
Approved artwork moves into the sublimation printing stage before cutting and sewing.
SPECIFICATION SNAPSHOT
Confirmed details at a glance
Use this table as a starting point. Final product details are confirmed against the selected style and approved sample.
| Preferred logo input | Vector AI, EPS, SVG or editable PDF where available |
|---|---|
| Raster references | Supply the highest available resolution at intended use size |
| Color direction | Provide Pantone or brand references when color matching matters |
| Placement map | Identify front, back, sleeve, side and waistband positions |
| Panel control | Confirm bleed, seam crossings, alignment and safe zones on the supplier template |
| Approval route | Mockup review followed by physical sample confirmation |
BUYER DECISION TABLE
Match the specification to the intended use
| Option | Best suited to | Confirm before approval |
|---|---|---|
| Vector logo | Scalable sponsor and brand marks | Check outlines, transparency and the approved color reference |
| High-resolution raster art | Textures and photographic-style graphics | Confirm resolution at production size and panel bleed |
| Panel-to-panel artwork | Designs that visually continue across seams | Set alignment expectations and review size grading on the mockup |
Send an organized artwork package
- Separate logos from visual references
- Name each mark and intended position
- Identify mandatory brand colors
- List priority, secondary and optional artwork
- Provide editable files and font information where permitted
Design around garment panels
Sublimation is applied to panels before the garment is sewn. Important text, faces, small sponsor marks and alignment features need safe space from seam allowances and high-stretch zones.
Approve both mockup and physical result
The mockup controls layout and hierarchy. The sample confirms printed color direction, scale, seam interaction and how artwork appears on the worn garment. Record every accepted revision before bulk production.
WHEN NOT TO USE THIS DIRECTION
Limits buyers should confirm
- Do not assume a low-resolution screenshot can be enlarged cleanly for production.
- Do not treat screen color as proof of printed color; confirm the physical sample.
- Do not place critical text or small marks on seam allowances or high-distortion zones.
BUYER FAQ
Questions to confirm before approval
Do I need final artwork before requesting a quote?
No. A product direction, logos and references can start the discussion, but production-ready artwork is required before print approval.
Which logo format is best for sublimation?
Vector AI, EPS, SVG or editable PDF is preferred because it can scale cleanly. High-resolution raster files may work for suitable graphics.
Why can printed color differ from a monitor?
Screens emit light while fabric printing depends on ink, material, heat and viewing conditions. Approve critical colors on a physical sample.
NEXT STEP