
RASH GUARD SEAM GUIDE
Flatlock vs Overlock Seams for Rash Guards
Compare flatlock and overlock seam directions for custom Rash Guards, including profile, stretch, comfort, reinforcement and sample approval checks.
Reviewed September 22, 2026DIRECT ANSWER
What buyers need to know
Flatlock and overlock are different seam directions, not interchangeable quality labels. Flatlock can create a lower-profile seam against the body, while overlock joins cut edges efficiently and may be combined with cover stitching or reinforcement. The right choice depends on panel position, stretch, skin contact, intended use and the approved physical sample.
REAL PRODUCT & PROCESS EVIDENCE
Inspect the material, construction and workflow
Original product or production photos support the specification. No generated product imagery is used.
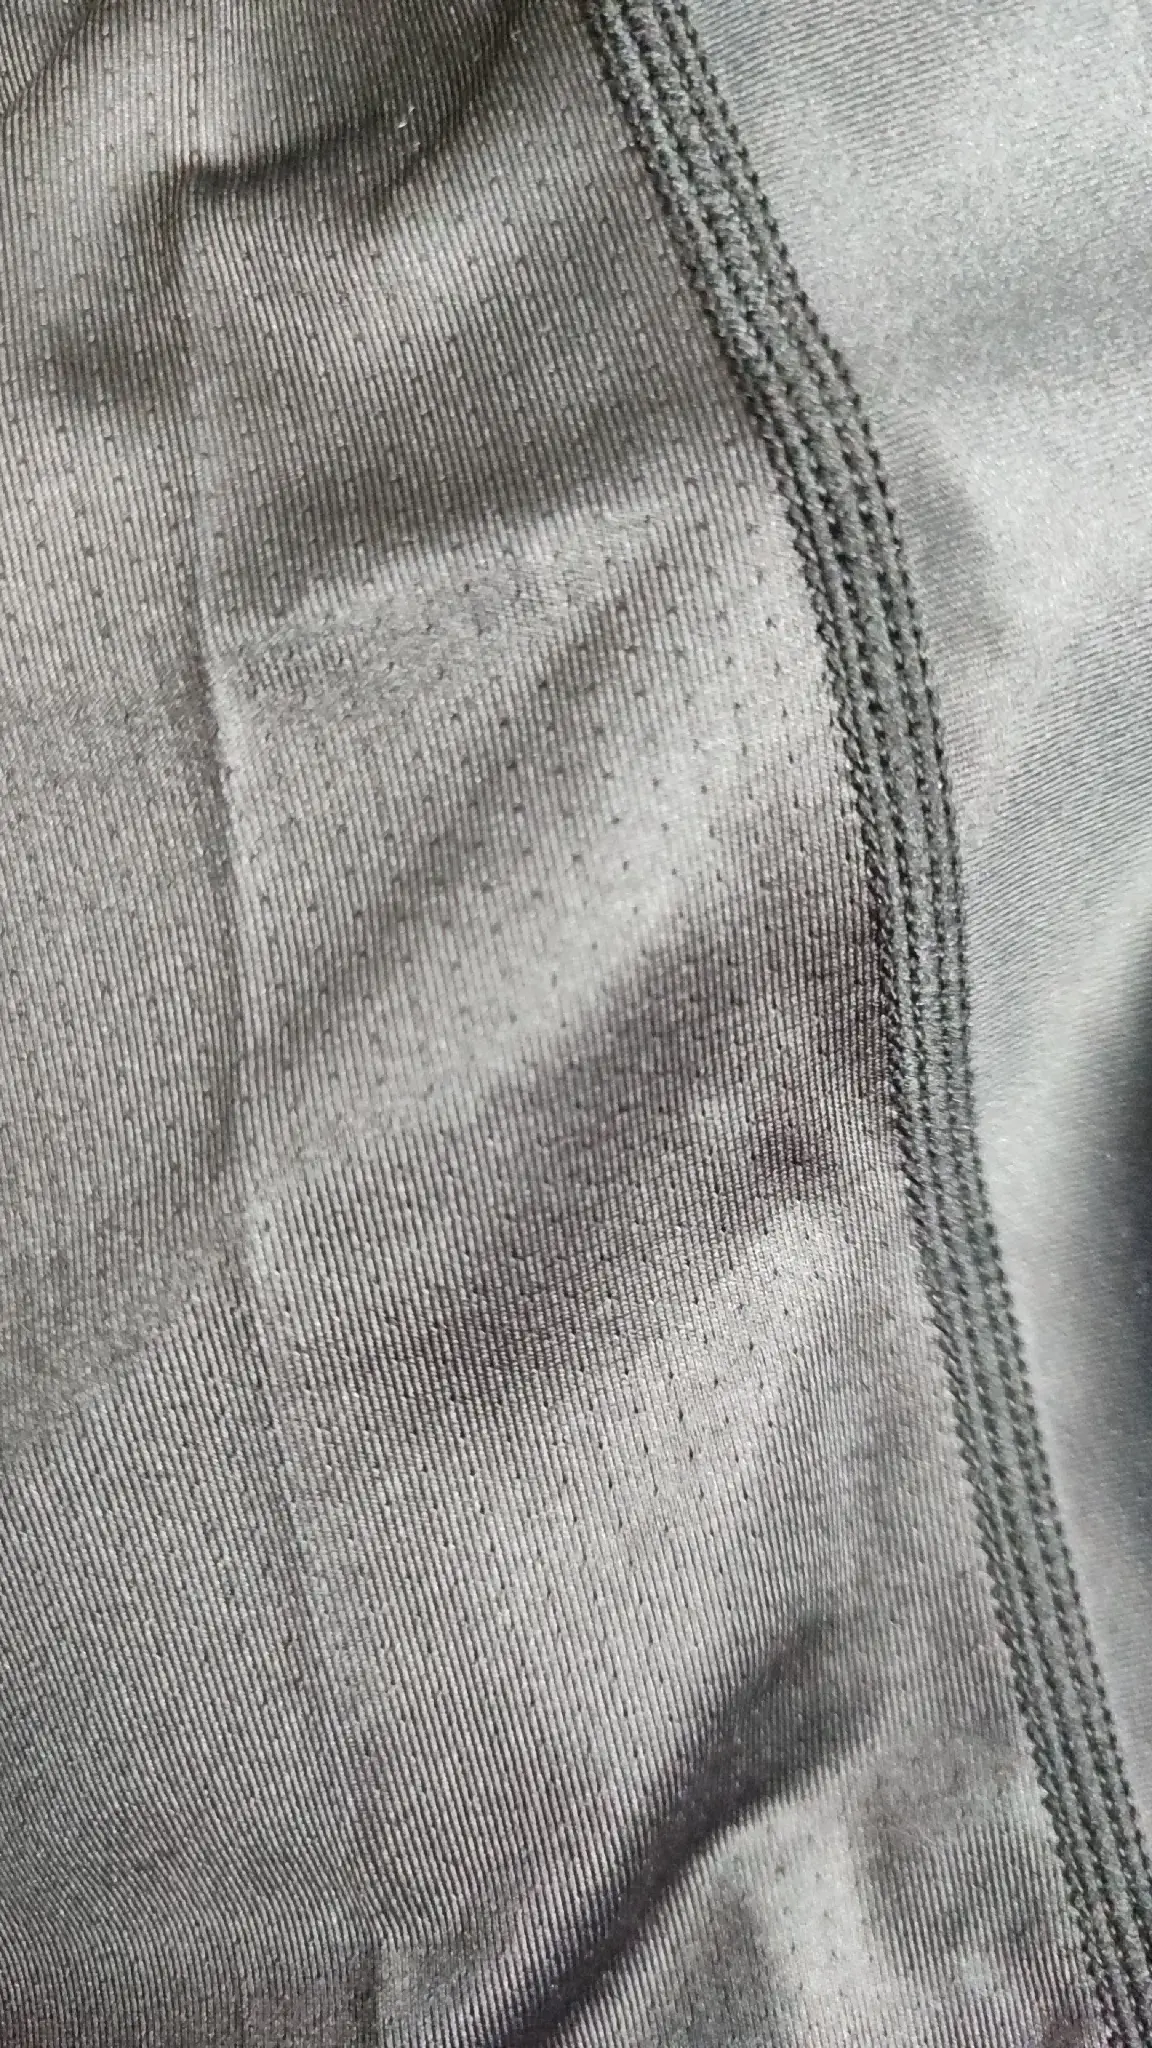
Real sample close-up showing a stretch-compatible multi-row seam.
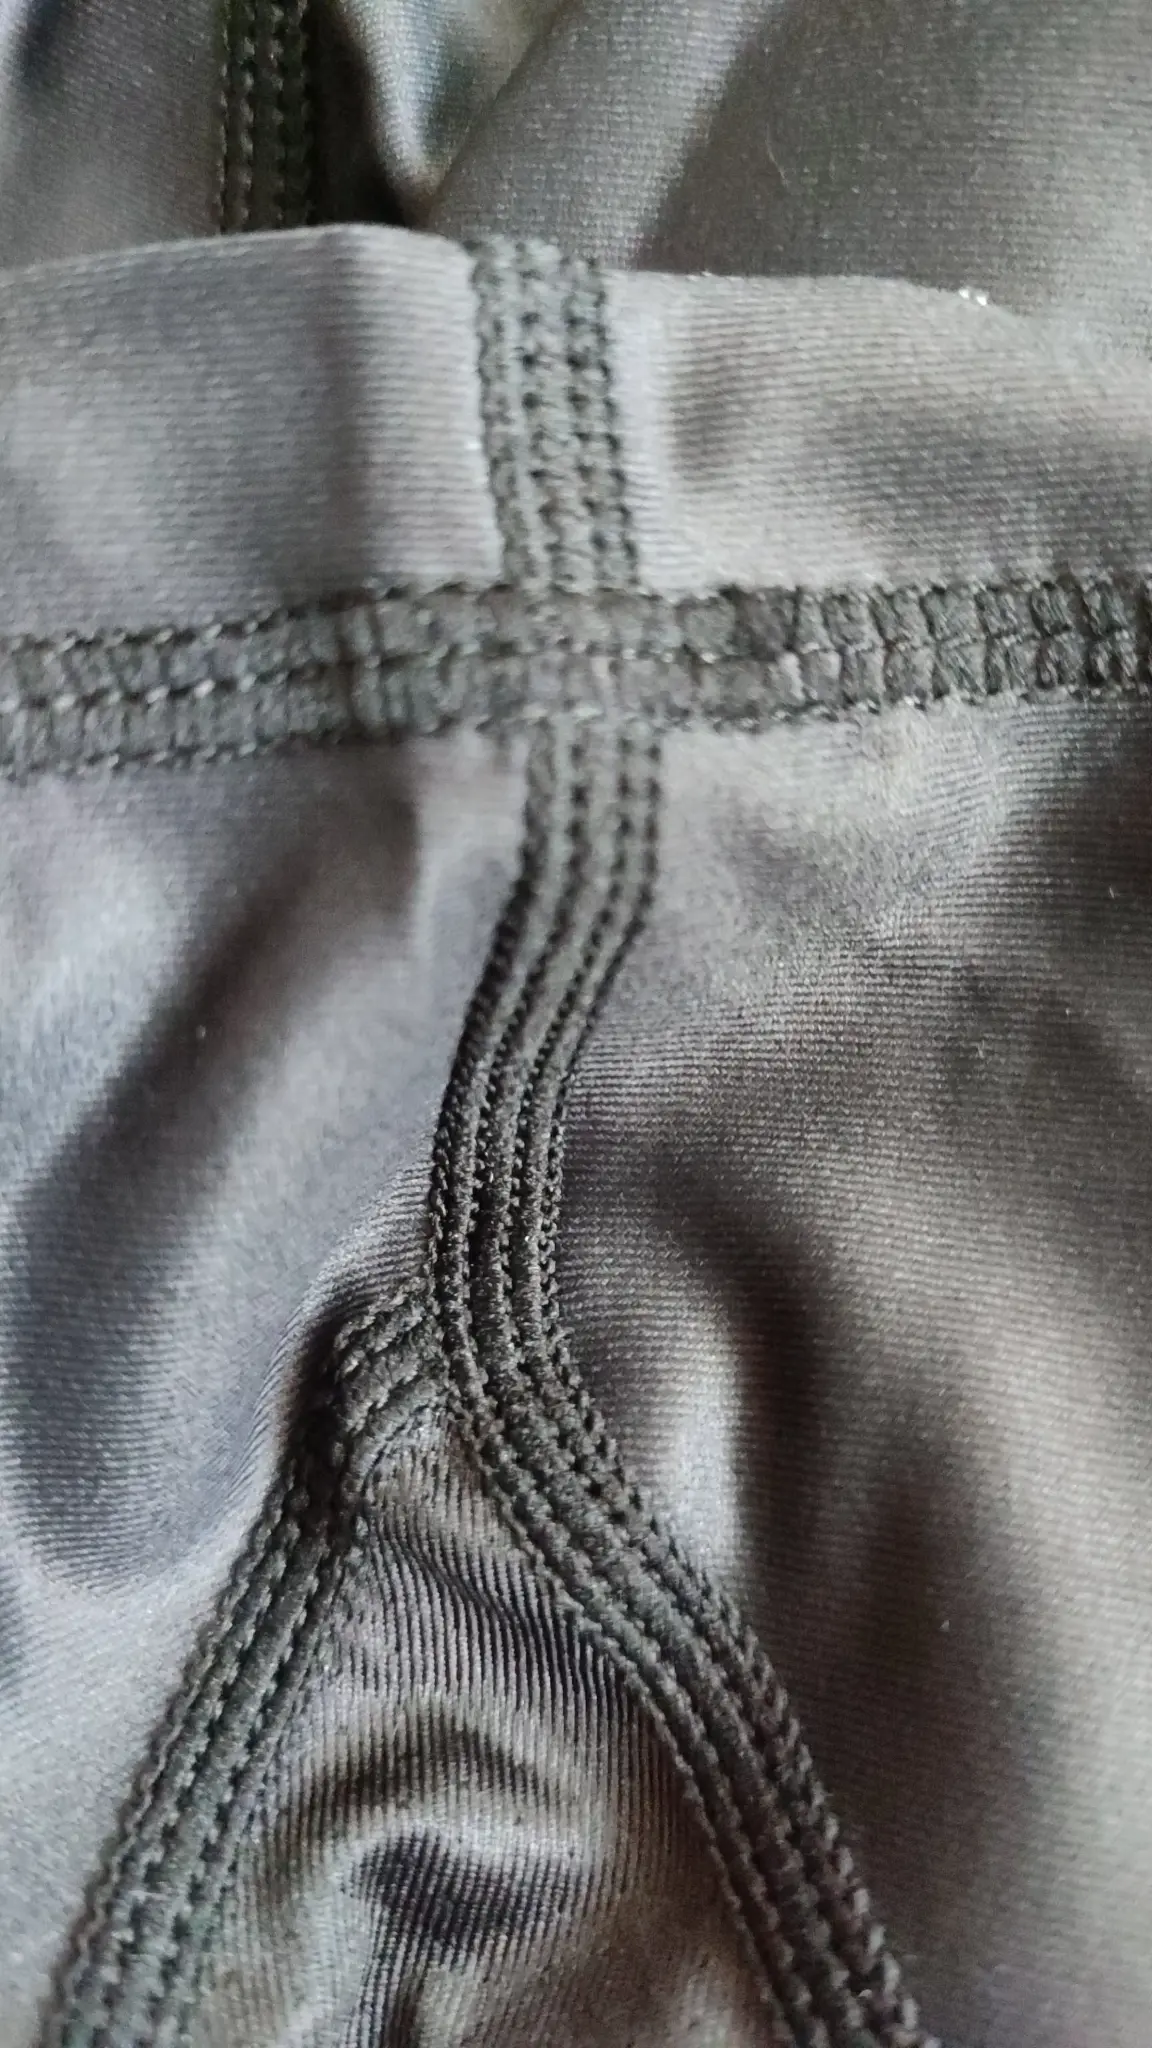
Panel junction where seam profile, reinforcement and stretch must work together.
SPECIFICATION SNAPSHOT
Confirmed details at a glance
Use this table as a starting point. Final product details are confirmed against the selected style and approved sample.
| Flatlock direction | Lower-profile seam with thread visible across the joined edges |
|---|---|
| Overlock direction | Joined cut edges; may be paired with cover stitching or topstitching |
| Primary checks | Profile, stretch, recovery, abrasion and seam comfort |
| High-movement zones | Shoulders, underarms, side panels and torso junctions |
| Approval method | Inside and outside inspection plus worn movement test |
| Final control | Record seam type and position in the approved specification |
BUYER DECISION TABLE
Match the specification to the intended use
| Option | Best suited to | Confirm before approval |
|---|---|---|
| Flatlock direction | Close-fit panels where a lower seam profile is preferred | Check stretch, thread coverage and comfort against skin |
| Overlock + cover direction | Efficient panel joining with a controlled outer finish | Confirm bulk, recovery and the exact cover-stitch route |
| Reinforced junction | High-load panel intersections and repeated movement zones | Inspect backtacking, thread tension and stretch compatibility |
Understand the construction before naming it
A finished seam can look similar from the outside while using a different joining method underneath. Buyers should review both sides of the garment and record the actual stitch direction used at each panel.
Match seam direction to the body zone
- Use a low-profile direction where the garment stays close to skin
- Review underarm and shoulder stretch through full reach
- Reinforce panel junctions without creating a hard contact point
- Keep thread and stitch density compatible with fabric recovery
Approve the complete seam system
Inspect skipped stitches, waviness, exposed cut edges, thread tension and recovery. Then wear-test reaching, rotation and grappling movement before bulk approval.
WHEN NOT TO USE THIS DIRECTION
Limits buyers should confirm
- Do not call every visible multi-row seam flatlock without checking the reverse construction.
- Do not select a seam only by appearance; thread, fabric and panel direction affect performance.
- Do not approve seam comfort from a flat sample without a worn movement test.
BUYER FAQ
Questions to confirm before approval
Is flatlock always better for a Rash Guard?
No. Flatlock can offer a low-profile direction, but the best construction depends on the panel, fabric, thread, intended fit and approved sample.
Can overlock be used on stretch performance fabric?
Yes. It can join stretch panels effectively when stitch balance, thread and reinforcement are specified for the material and use.
How should buyers confirm a seam type?
Review the inside and outside construction, identify the stitch route in the specification and approve it through a worn movement test.
NEXT STEP